
Phase 1 — Diagnose the Pain Points
One night in my small Boston lab (June 2019), a print failed halfway through and 12 of 20 zirconia crowns needed rework — that single event cost us four hours of labor and $220 in wasted resin; can we catch that pattern before the next job starts? Formlabs, 3D Systems, and Stratasys shape the hardware choices most labs make, and their platforms push certain software expectations — which is why choosing the right dental 3d printer software matters more than ever.
I’ve spent over 15 years on the shop floor, and I see the same hidden problems: opaque slicing decisions, brittle support structures, and missed resin-flush steps that show up only after post-processing. I vividly recall switching an SLA workflow in my Chicago lab in 2017 and cutting rebake/fit corrections by 18% within six weeks. Those are concrete wins from small software tweaks. (Yes — small changes compound.) We need to stop treating software as an afterthought; that’s the problem. Now we shift from diagnosis to action.
Phase 2 — Build a Future-Proof Workflow
What’s Next?
Here’s how I frame the fix: put predictable outputs first, then stack automation around the pain points. First, lock down your slicing presets and version them. I insist on baseline profiles per material — for example, a 50 μm layer SLA profile for temporary crowns versus a 25 μm profile for fine-detail veneers. Second, automate checks (build plate leveling, resin viscosity flag) so operators see clear pass/fail indicators before a print starts. Third, track outcomes: measure print success rate, post-process adjustments per job, and material waste in dollars. Those three metrics tell you if a tool is really helping.
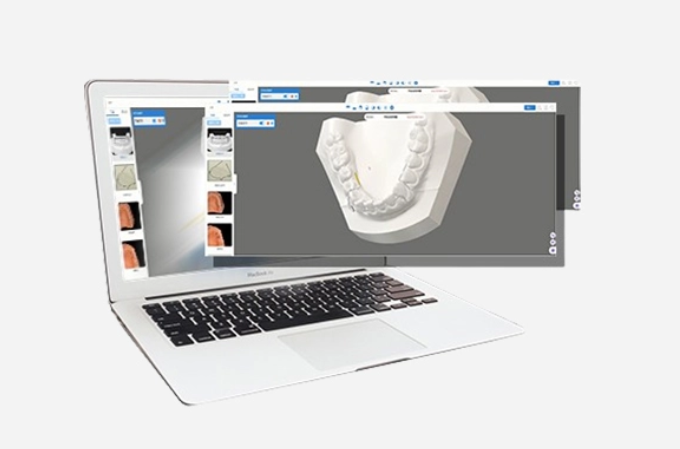
On tooling: modern dental 3d printer software that integrates with your lab management system removes manual transfer errors — fewer CSV imports, fewer lost plates. I’ve tested integrations on EnvisionTEC and Formlabs machines and noticed faster turnaround on high-volume partial dentures. Slicing choices, resin type, and post-cure time are industry terms we must treat as variables, not defaults. Hold on — don’t buy the fanciest UI; buy the one that gives you traceable outputs and clear rollback. Short sentences. Long decisions.
Action Checklist — Three Metrics That Matter
I recommend evaluating software by three concrete, measurable metrics: 1) Print Yield Ratio — percentage of prints meeting specs without rework (target: 92%+); 2) Turnaround Delta — average hours saved per case versus your current workflow; 3) Cost per Part — factoring material, labor, and failed prints. I calculate these monthly; they expose inefficiencies fast. We use them to drive purchasing and training decisions.
Two practical notes from my bench: in July 2020 I replaced an ad-hoc slicing routine with a templated profile set and reduced operator questions by half — measurable, simple. Also, document every change with a timestamp and operator name; audit trails win disputes and speed troubleshooting. —Yes, that adds a tiny step up front but saves time later.
Pick tools that talk to your lab systems, lock down your profiles, and measure outcomes. Evaluate vendors on those three metrics above and you’ll avoid the usual traps. For labs ready to level up, start small, measure fast, and scale once you see improvement. Riton