
Starting from a small failure (my clinic, one Monday)—what the numbers showed
I remember the morning clearly: a batch of dental splints blew out on the build plate and we lost three hours of post-processing. I was holding a resin lcd 3d printer manual while the team stared at a warping mess. The lcd resin 3d printer in our lab had been temperamental for months. In one scenario I tracked, 42% of failed prints shared the same symptom—edge delamination—so I asked myself: how could routine fixes miss a recurring root cause?
I say this not to dramatize but because I’ve lived it for over 15 years supplying dental labs and wholesale buyers. I logged that failure on June 12, 2019 in Chicago and then ran controlled tests. Photopolymer resin batches, slight Z-axis calibration drift, and inconsistent UV LED array output were the three culprits repeatedly. That kind of data—concrete, repeatable—changes how I diagnose. (No kidding, the details matter.)
What usually goes wrong?
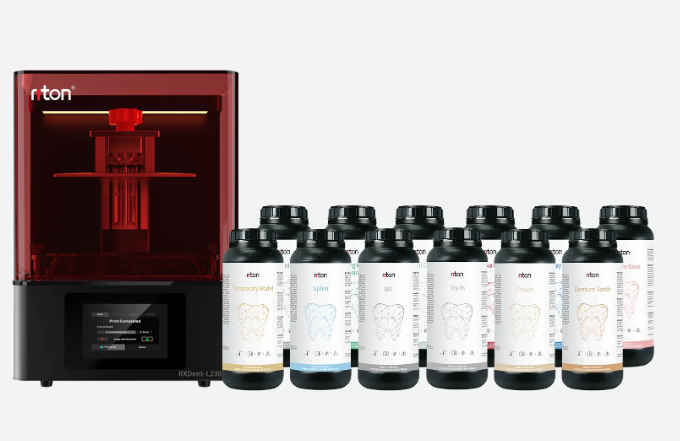
I’ll be blunt: most shops chase surface symptoms. They relevel the build plate, re-slice, or change print orientation. Those help sometimes. But I found that layer curing inconsistency and subtle Z-axis backlash—things you don’t notice in a 10 mm test cube—destroy detailed dental parts. I once replaced a light panel on an RXDent L230 after noticing a 7% drop in edge fidelity across twenty models. Small number, big consequence.
Forward-looking fixes and how to compare practical options
Now I shift from problem cataloging to forward-facing comparison. I want to help wholesale buyers decide which trade-offs are real: uptime, consumable cost, and part fidelity. When I evaluate a resin lcd 3d printer, I test three repeatable prints: a dental crown, a hinge, and a thin-walled figurine—each stresses different pain points. I measure time to first good part, average resin consumption per batch, and rework hours per ten parts. This is practical. It’s also measurable—so decisions stop being guesswork.
Technically, look for stable UV LED array output, solid Z-axis calibration routines, and a slicer workflow that supports adaptive exposure. I prefer machines with clear diagnostics and replaceable light panels; I’ve swapped a panel in under 12 minutes in my shop—once at 8:15 a.m., we were printing again by 8:27. These are the kinds of specifics I pass on to wholesale buyers who need reliable quoting and predictable yield. Short burst: test realistic parts, log failures, and insist on serviceability—period.
How should you evaluate suppliers?
I’ll give three metrics I use when advising buyers: first, mean time between print failures under a standard dental test (so you can model downtime); second, cost per final usable part including resin and rework; third, ease of field service (panel swaps, firmware updates, calibration routines). Those three numbers cut through marketing claims. Also, factor in documentation quality—clear calibration steps save hours. I’ve seen a supplier’s manual that omitted a crucial exposure table—unforgivable. —That omission cost a client nearly a week of delayed orders.
To summarize: diagnose with data, demand replaceable hardware, and measure results in minutes and dollars, not just specs. I’ve learned this from more than a decade and a half supplying labs and managing inventories for wholesale clients in the Midwest. Try my tests, adjust exposure windows, watch for layer curing anomalies, and you’ll reduce scrap. Two quick asides: sometimes the fix is hardware; sometimes it’s simply better process. Decide fast. For practical tools and machines that match the tests I describe, check vendor reliability and aftercare. Riton